Managing multiple Facebook accounts, automating posts, or scraping data safely requires more than just a reliable internet connection. A properly configured proxy for Facebook is essential to protect accounts, bypass restrictions, and maintain operational efficiency. This tutorial walks you through the setup process, covering browser configuration, automation tools, and best practices.
Step 1: Choose the Right Facebook Proxy
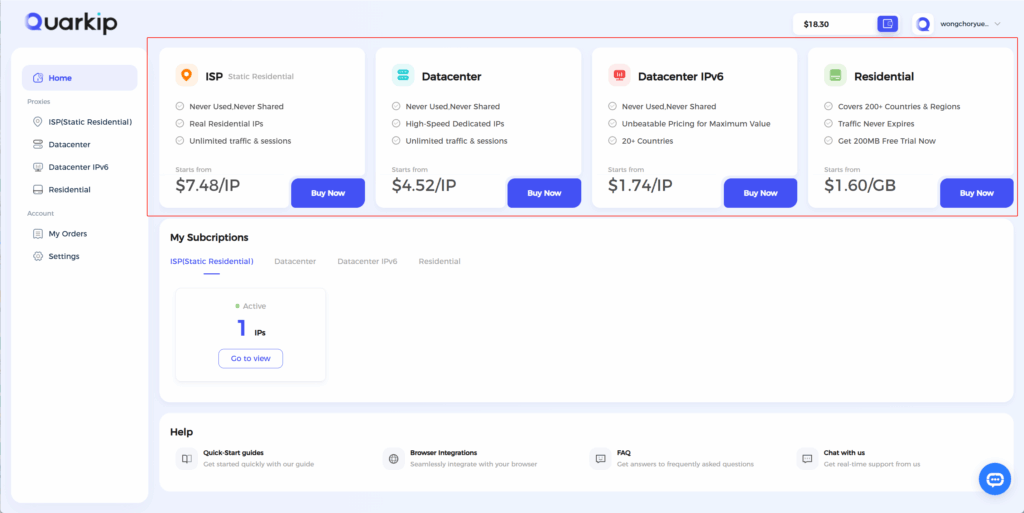
Before setup, identify which type of proxy suits your needs:
- Residential Proxies: Appear as real user devices; ideal for long-term account management.
- Static ISP Proxies: Offer fixed IP addresses with residential trust; great for accounts requiring consistent identity.
- Datacenter Proxies: Fast and cost-effective; suitable for temporary tasks or data scraping, but slightly riskier for automation.
💡 Tip: For multiple Facebook accounts, assign a dedicated residential or ISP proxy per account to minimize detection.
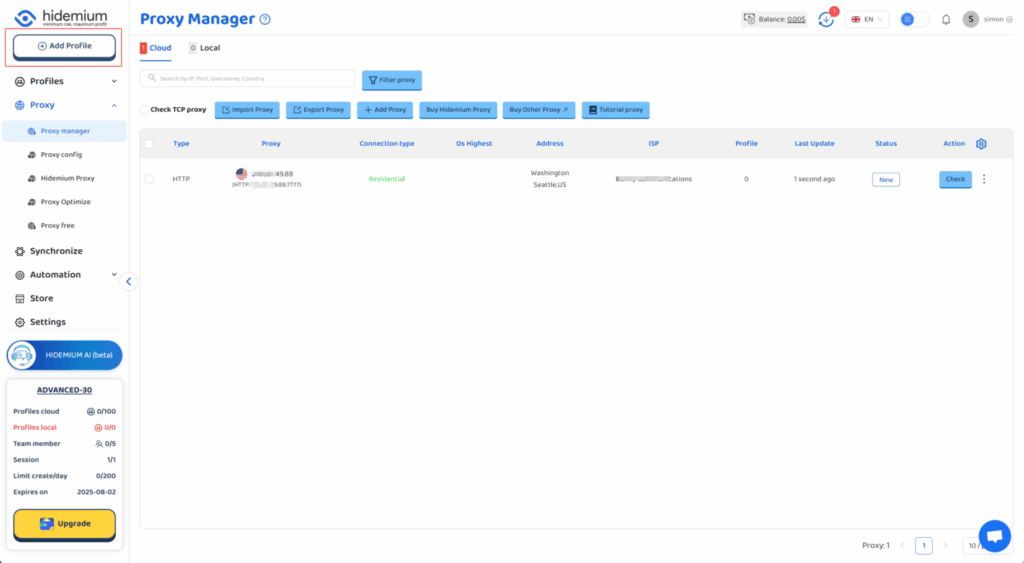
Step 2: Acquire Your QuarkIP Proxy Credentials
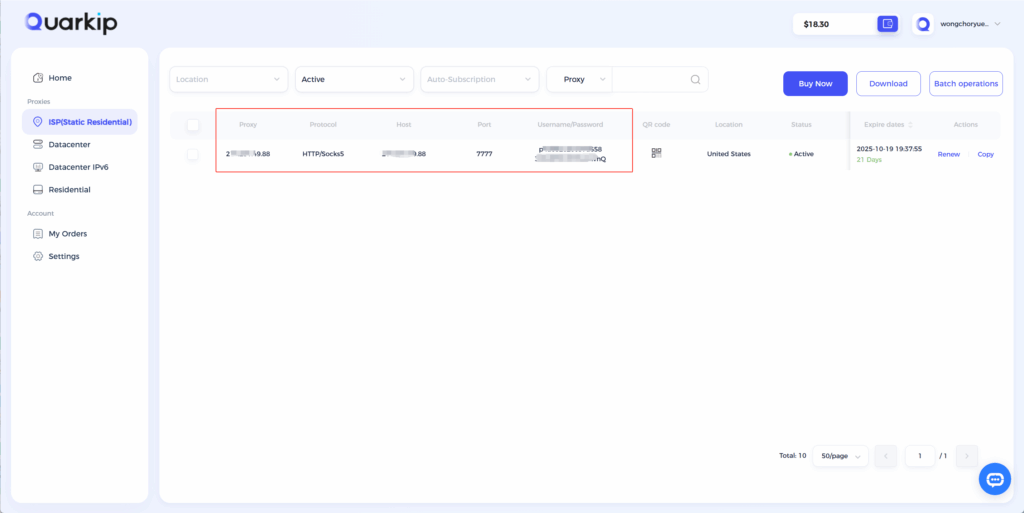
Once you subscribe to QuarkIP, you’ll receive the following:
- Proxy IP / Hostname
- Port Number
- Username
- Password
These details are necessary for all configuration methods, whether in a browser or automation software.
Step 3: Configure Your Browser
Option A: System-Level Proxy (Windows / Mac)
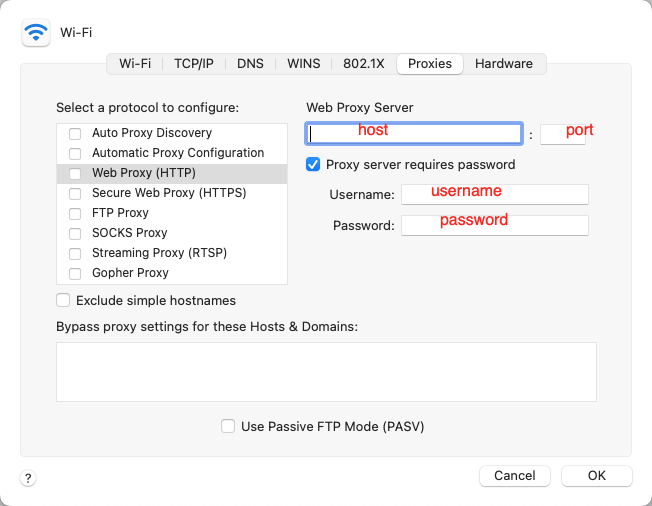
- Open your computer’s network/proxy settings.
- Enable manual proxy configuration.
- Enter the QuarkIP proxy IP and port.
- Input your username and password when prompted.
- Verify functionality by visiting
https://whatismyipaddress.com/.
Option B: Proxy Manager Extensions
Extensions such as Proxy SwitchyOmega (Chrome/Firefox) simplify management:
- Install the extension and create a new profile.
- Input QuarkIP credentials.
- Assign the proxy to specific Facebook accounts or tabs.
- Test connections before logging in.
💡 Pro Tip: Use multiple profiles if managing several accounts to isolate sessions.
Step 4: Integrate Facebook Automation Tools
Automation platforms like Jarvee, Phantombuster, or SocialCaptain require proxy integration for safe operation.
- Open your tool’s proxy settings section.
- Add QuarkIP proxy credentials (IP, port, username, password).
- Assign each Facebook account a unique proxy.
- Test the connection and monitor login alerts before running campaigns.
| Automation Tool | Recommended Proxy Type | Notes |
|---|---|---|
| Jarvee | Residential / ISP | One proxy per account; rotate IPs cautiously |
| Phantombuster | Residential | Best for scraping & automated posting |
| SocialCaptain | ISP | Avoid using datacenter proxies for core accounts |
Step 5: Warm-Up Accounts and Daily Limits
Proper warm-up reduces the risk of account restrictions:
- Days 1–3: Log in and browse feeds naturally.
- Days 4–6: Start with 2–5 posts or interactions per day.
- Days 7–10: Gradually increase actions (likes, comments, connections).
- Day 11+: Implement full automation workflow.
⚠️ Daily Safety Rules:
- One proxy per Facebook account.
- Randomize delays between automated actions.
- Avoid sudden spikes in activity.
Step 6: Troubleshooting Common Issues
| Problem | Possible Cause | Solution |
|---|---|---|
| Captchas on login | Proxy flagged or shared IP | Switch to residential/ISP proxy; reduce automation speed |
| Suspicious login alerts | IP mismatch or geo-location difference | Use a geographically appropriate proxy |
| Automation tool errors | Incorrect proxy type (HTTP vs SOCKS5) | Verify credentials and proxy type |
| Account temporarily blocked | Excessive automated activity | Pause, rotate IPs, resume gradual activity |
In addition, monitor account notifications and adjust action limits to maintain a healthy footprint.
Step 7: Best Practices for Safe Facebook Proxy Use
- Prioritize Residential Proxies – Higher trust factor and lower detection rates.
- Unique Proxy Per Account – Prevents account linking and potential bans.
- Monitor Logs Regularly – Check login patterns and tool activity to catch anomalies early.
- Gradual Scaling – Increase automation slowly, mimicking natural behavior.
- Combine With Authentic Engagement – Like, comment, and post manually alongside automated actions to keep accounts credible.
Why QuarkIP Is Ideal for Facebook
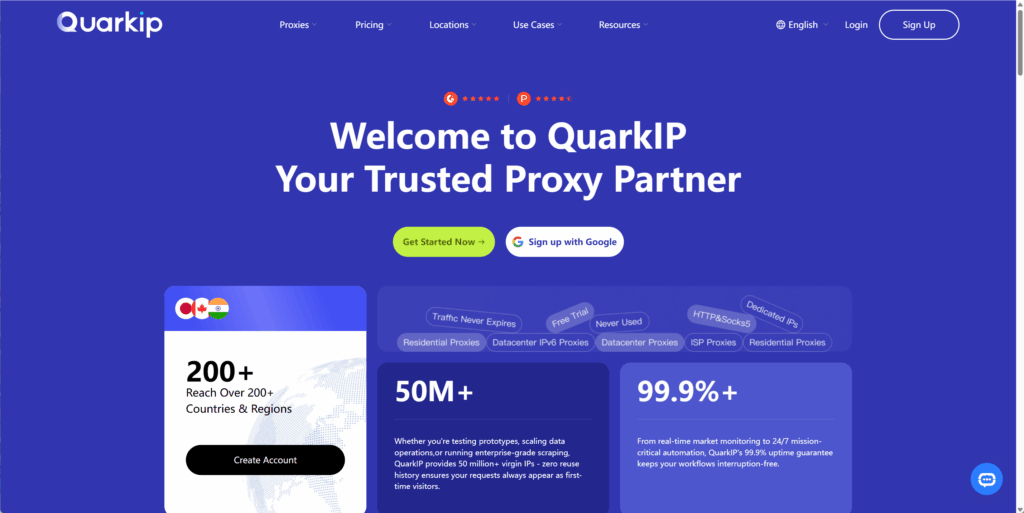
- Stable IP Pools: Residential and ISP proxies for long-term account management.
- Global Coverage: Match proxy location with target audience regions.
- Reliable Rotation: Keeps accounts safe during automation or scraping.
- Dedicated Support: Helps resolve proxy issues quickly and efficiently.
By following this step-by-step setup, businesses and marketers can safely automate Facebook activities while maintaining account integrity and scalability.
FAQ
Q1: Can I use one proxy for multiple Facebook accounts?
No. Always assign a unique proxy to each account to prevent detection.
Q2: Should I use residential or datacenter proxies for Facebook automation?
Residential or ISP proxies are safer for automation. Datacenter proxies are faster but riskier for long-term accounts.
Q3: How do I know if my proxy is working correctly?
Test by visiting https://whatismyipaddress.com/ and ensure your login proceeds without security alerts.
Q4: Can I combine manual and automated activity with proxies?
Yes. Mixing manual engagement with automation reduces detection and makes accounts appear more natural.
Conclusion
Setting up a Facebook proxy correctly is essential for anyone managing multiple accounts or running automation campaigns. By using QuarkIP proxies, assigning one proxy per account, and following best practices, you can achieve secure, scalable, and reliable Facebook operations in 2025.
 By
By